Windows validation components are the only components that certify whether the copy of your Windows Operating System is Genuine or not. These components also show that the critical Windows licensing files on your Windows OS have not been damaged or removed. Downloading and installing the required windows Validation components only takes a few minutes, and it creates a match between your computer’s profile and Microsoft windows OS . You need a 25-character product key for immediate and future activation. Windows Validation components are activated from Windows product key and it ensures that no one else is using your product key maliciously.
You can get a genuine Windows validation components download from the Microsoft Download Center or you can simply request for a non-security related download from Windows Update. You will need to download additional software components if you are installing windows for the first time, these components will allow your validation to run smoothly. You will receive valid offers from Microsoft after downloading your windows validation components. If your windows validation components are not genuine, then some undesirable changes might occur with PC configuration. Without genuine windows validation components, you will also not receive security updates on your Computer.

Step 1: Download your windows validation components from the Microsoft download center
Step 2: Log on to your Computer as an administrator, or member of an administrator group { You can’t complete the installation without this step}.
Step 3: Select and click “Start” from your desktop and click on the Control Panel
Step 4: From the Control Panel, double click on the “add or remove programs”
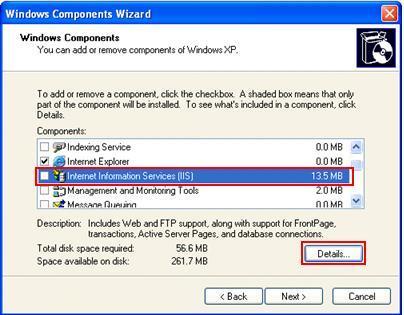
Step 5: Click on “add/remove Windows components”.

Once you have clicked on the add/remove windows components, the windows components wizard will start, and the components screen will appear displaying the following components;
Indexing services, accessories and utilities, fax service, Internet explorer, Internet Information services, Management and monitoring tools, Networking services, messaging queuing, MSN explorer, Internet explorer, update root certificates, and other network and print services. Windows validation components such as Internet information services, and message queuing are only available on Microsoft Windows XP professional and not on Windows XP home edition.
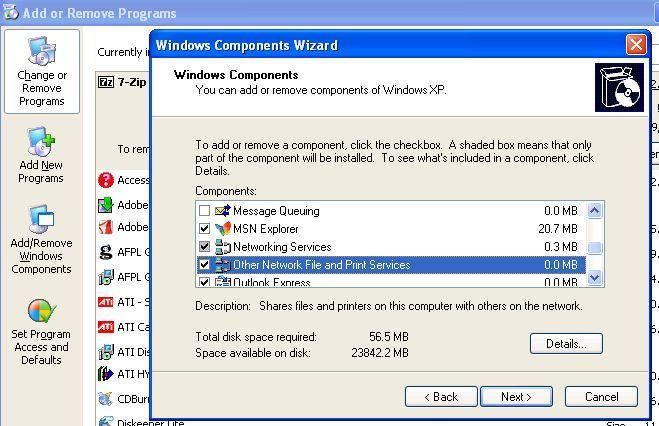
Step 6: Select and click on each box beside each component to add or remove the ones you want on your Windows operating system. A partial shaded box beside any component means only some part of the component can be installed.
Step 7 : You can check the details on each component by clicking on it and then select “ Details”. In case you don’t find any detail button on a component, it automatically means that there are no sub-components associated with it.
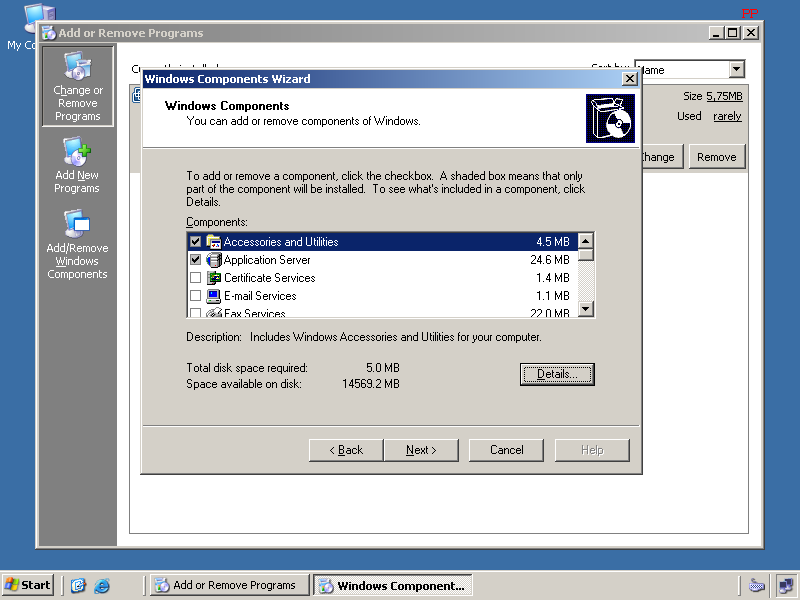
Step 8: Follow the instructions on the Windows component wizard to complete other procedures. You need to keep in mind that some Windows Validation components will need to be configured before installing them, these components don’t install automatically like others. If you have mistaken installation of any of these components without configuring them, simply go to the “ Add /remove windows components”, and you will see a list of the components you need to configure appear on the page.
To configure a windows validation component, click on “Configure” , follow the remaining instructions on the screen , and if you want to add any component, simply click on “ Components” and follow the instructions displayed on the windows component wizard.
You can install programs from some Windows validation components, these components include; FTP service, CD ROM or Floppy Disk, and Windows Network.

Installing your FTP service from your Internet Information service { a windows validation component}
FTP service is one of the features that you don’t get directly when you install windows validation components, you need to extract it from your Internet Information service.
Step 1: Log on to your computer as an administrator
Step 2: From your Desktop page, click on the Start Button, and select/click on the control panel.
Step 3: Select and double click on add/remove programs, and then click on “Add new programs”.
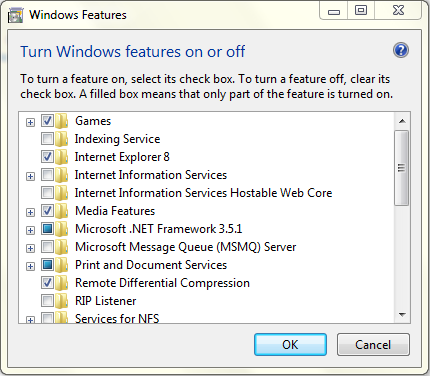
Step 4: Check the components lists on the Windows component wizard, click on “Internet Information services” and click on the details.
Step 5: Check a dialog box beside: Internet information services” and select the FTP service checkbox if it has not been selected already. Click OK after selection.
Step 6: Click next on the windows components wizard, the wizard will display all the configuration settings as well as the status of the ongoing configuration on the screen. You may have to install your CD ROM if prompted to do so. You also need to set up some copies of the FTP file alongside the tools files on your Desktop Computer.
Step 7 : Once the setup is complete, the windows components wizard will be displayed on the screen , simply click the “ Finish” button and close the Wizard.