
There was a time when Microsoft used Movie Maker as a marketing tool for their Operating System but with the passage of time they decided to knock it off. Windows Movie Maker comes as a stock app for all the versions of Windows below Windows 7, the reason why Microsoft decided to stop featuring this software bundled with their OS stands unknown. But, they allow users to install Movie Maker for free from their official page. You can Download and Install Movie Maker to enjoy all the features of classic Movie Maker in addition to some other features included in this package.
There is also a chance that you might already have the Movie Maker installed on your computer, and if that is the case you can check it by Clicking on Start Button ![]()

Windows Movie Maker can be used to combine Videos or Photos from your PC or Camera with music, audio, narration and all the other cool effects to make Movies and memories out of them. It also gives a huge scope for special effects, themes, transitions and much more to polish your Movies into a master piece. You can even connect and share your Movies over the net on your favorite social networking sites such as YouTube and Facebook, or upload them to Skydrive . You can watch your Movie with friends while chatting in Windows Live Messenger and discuss about innovations, effects or just enjoy watching it.
Installing Windows Movie Maker 2.6
If you have a problem running or installing Movie Maker then Movie Maker 2.6 is your solution. This is a typical problem encountered by many users and shows up as an error message “Windows Movie Maker cannot start because your video card does not support the required level of hardware acceleration or hardware acceleration is not available” and if that is your case, go ahead and download Movie Maker 2.6 for Vista.
Method 1
This method to install Windows Movie Maker is easy as well as fast and also allows you to install other productive Applications included in the Windows essentials Software Kit.
Step 1. Download Windows Essntial from official Microsoft Website.

Step 2. When the Download is Complete, Navigate to your Browser or Download Manager Downloads window and right click on the file you just downloaded, named something like “wlsetup-web.exe” and hit run from the drop down box. Alternatively you can just double click on the file.
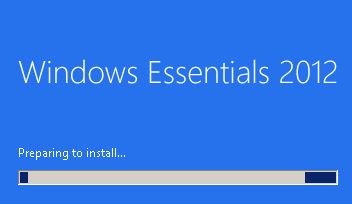
Step 3. You will now see a ‘Preparing to Install’ Blue colored tab pop up which will look like the screen shot shown below. It will take 5-6 minutes for this to disappear.

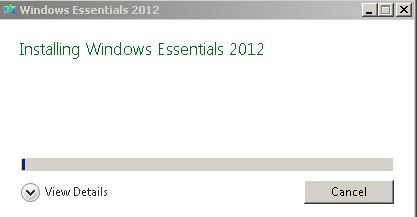
Step 4. After the above pop-up has disappeared, you will then see installation option Window. From here you can either choose to download all the Windows essentials tools like Windows Movie Maker, Writer, Messenger, Photo Gallery, SkyDrive and much more.Alternatively, you can just choose the second link which says “Choose the Program you Want to Install” and Install Windows Movie Maker Only.


Step 5. If you choose to install all the Windows Movie Maker Essentials, a self explanatory installation process will begin and you will be able to see your Windows Movie maker in Programs Menu by the end of the whole process.

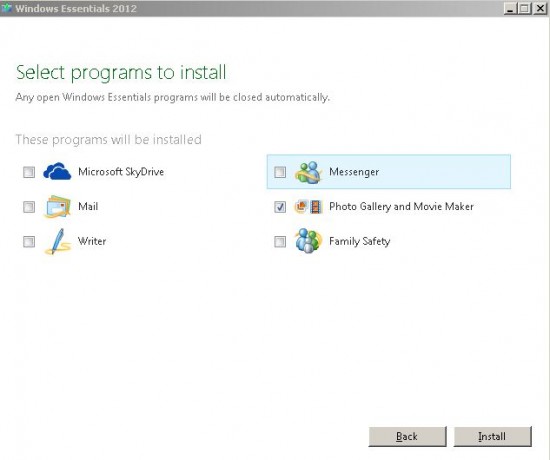
If however, you opted for the second option, you will be prompted to check the programs you want to install, from the various options, uncheck all other programs except the one saying Photo Gallery and Movie Maker. Follow the instructions therefrom and accept terms and conditions to see Windows Movie Maker successfully installed on your PC.

Method 2
This method can be used to specifically download and install only Windows Movie maker in a few quick steps.
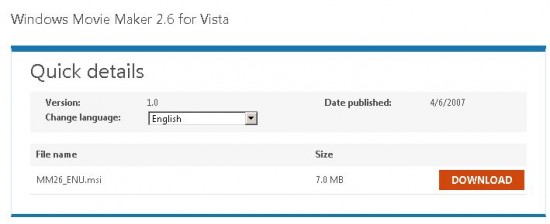
Step 1. Download Movie Maker 2.6 for Vista , this application works for all the other versions of Windows too.

Step 2. After the download has completed, Navigate to downloads Window of your Browser and right click on the downloaded file and hit Open> Run.
Step 3. From the setup menu that now pops up, hit Next, Click and Check License agreement and click on install.
Step 4. Now a small window will show up, Click on Yes and the installation process will begin which should take about 1-3 minutes.
Step 5. Click on Finish and you can now access Window Movie Maker from Start>All Programs under the name Windows Movie Maker 2.6. This method has been tested for all 32 and 64 bit versions and works normal on all of them.
If you just want to do some minor video editing, you might want to take a look at Windows Movie-Maker Alternatives that get the job done and then some.